# WebWorker 实践

WebWork 允许浏览器开辟一条独立的线程且不影响主线程的运行, 一般用于处理浏览器的密集型计算。本文主要探讨如何在实际的项目中运用它, 具体的介绍可以参考阮大的文章Web Worker 使用教程 (opens new window)
文章结构主要分以下两部分
- 代码实现
- 构建配置
- 最佳实践
# 代码实现
- 主线程代码[main.js]
// relative path to the worker from current file
import Worker from '../../utils/sleep.worker'

const wk = new Worker()
wk.postMessage(['data:application/json;base64,asfasdfs'])
wk.onmessage = (d) => {
  console.log('主线程收到消息!', d)
}
- WebWorker 线程代码[worker 线程代码]
// use import like you would in any other file
import moment from 'moment'

const countNum = () => {
  let count = 0
  for (let i = 0; i < 10000; i++) {
    for (let j = 0; j < 100000; j++) {
      count++
    }
  }
  return {
    count,
    date: moment().format('YYYY-MM-DD: hh:mm:ss')
  }
}

self.onmessage = (e) => {
  console.log('worker线程收到消息', e)
  const res = countNum()
  self.postMessage(res)
}
# 构建配置
要让 WebWorker 使用外部依赖, 可以使用 Webpack 来加载第三方包, 也可以直接使用原生的importScript来引入第三方包
# 配置 Webpack
此处以Webpack为例子, 可以通过以下两种方式来使用Webworker
- 配置 worker 模块 到 entry
- 通过 worker-loader 加载
// webpack.config.js entry
modules.exports = {
  entry: {
    main: './src/app/main.js'
    worker: './src/utils/myWorker.js',
  },
  output: {
    path: `${ROOT_PATH}/public`,
    filename: '[name].bundle.js',
  }
}
如果需要使用 loader 方式, 必须先安装相应的worker-loader, 具体的 loader 相关介绍, 请移步至: Webpack worker-loader documentation (opens new window)
npm install worker-loader --save-dev
//With Webpack (worker-loader)
//webpack.config.js
modules.exports = {
  module: {
    rules: [
      {
        test: /\.worker\.js$/,
        use: { loader: 'worker-loader' }
      }
    ]
  }
}
# 配置 Vite
Vite 内置了常用的插件, 包含了 Worker, 所以不需要额外引入
在文件开头引入模块的时候, 添加修饰参数即可
import Worker from './test.worker.js?worker'
const worker = new Worker()
也可以使用import.meta.url来使用
const worker = new Worker(new URL('./worker.js', import.meta.url))
# 使用importScript加载模块
Web Worker 中有一个 importScripts 函数可用于加载其他代码,但它会暂停 worker 的执行,以便获取和评估每个脚本。它类似于经典 <script> 标签一样在全局范围内执行脚本,这意味着一个脚本中的变量可以被另一个脚本中的变量覆盖
// You can always import the library from a CDN
// myWorker.js
importScripts('//cdnjs.cloudflare.com/ajax/libs/moment.js/2.24.0/moment.min.js')

console.log(`From worker: worker started at ${moment().format('HH:mm:ss')}`)
# 使用ESM加载模块
鉴于importScript的缺陷, Chrome 80 在Worker线程中中开始支持 JavaScript 模块化ESM新方案。 Worker 构造函数现在接受一个新 { type:"module" } 选项,该选项更改脚本加载和执行以匹配 <script type="module">
//  主线程
const worker = new Worker('worker.js', {
  type: 'module'
});
// Worker线程
import { sayHello } from './greet.js';
addEventListener('message', e => {
  postMessage(sayHello());
});
// 自定义模块
import greetings from './data.js';
export function sayHello() {
  return greetings.hello;
}
# 在 StackOverflow 中的参考
Other bundlers Web workers cannot importScripts from parent folders for security reasons The node_modules folder is usually at the root of the project so you can't access it with importScripts The bundler needs to be configured so that the content can be aliased or copied to a location the worker can access
# AngularCLI and Ionic 使用
For projects using webpack as a bundler the 2 webpack solutions can be adapted as long as you can access the webpack config and customize it.
The "Webpack (as entry)" example was actually borrowed from Angular CLI generated app with Web Workers
It explains how to modify the setup to bootstrap angular using web workers It have been referenced as a webworker solution for Ionic projects too
Note on TypeScript you may need a separate ts config in the worker folder Structuring a TypeScript project with workers
module.exports = {
  extends: '../generic-tsconfig.json',
  compilerOptions: {
    lib: ['esnext', 'webworker']
  }
}
# 最佳实践
下面来记录如何在实际项目中运用 WebWorker 进行多线程编程
# 文件分片案例
在前端文件处理场景下, 比如上传大文件, 大文件的处理等等都适用Worker线程来处理。模块依赖中有一个将文件切片的函数, 主线程开启多个Worker线程, 每个线程处理一部分分片文件, 最后主线程将所有线程处理后的结果合并
本案例作者已经上传到自己的demos代码仓库 (opens new window)
# 主线程
<!-- 主线程代码 -->
<!DOCTYPE html>
<html lang="en">

<head>
  <meta charset="UTF-8">
  <meta name="viewport" content="width=device-width, initial-scale=1.0">
  <title>大文件分片</title>
  <link rel="icon" href="data:;base64,">
</head>

<body>
  <h1>使用WebWork多线程处理大文件分片问题</h1>
  <input type="file" id="file" />
  <script type="module">
    const dom = document.querySelector("#file")
    const CHUNK_SIZE = 1024 * 1024 * 5 // 将每个分片切割为5MB
    const threadsNum = navigator.hardwareConcurrency // 创建CPU核心数个线程
    dom.addEventListener("change", start)


    function start() {
      return new Promise((resolve) => {
        const file = dom?.files?.[0]
        const result = []
        // 分片总数
        const chunkCount = Math.ceil(file.size / CHUNK_SIZE)
        // 每个线程需要处理的分片数
        const workerChunkCount = Math.ceil(chunkCount / threadsNum)
        // 已完成的线程计数
        let finishThreadCount = 0;

        for (let i = 0; i < threadsNum; i++) {
          // 每个worker处理的分片下标开始和结束
          const tilingStart = i * workerChunkCount
          const lastOne = tilingStart + workerChunkCount
          const tilingEnd = lastOne > chunkCount ? chunkCount : lastOne

          // 每次创建一个新的webworker线程
          const worker = new Worker('./webworker/worker.js', {
            type: 'module',
            name: `${i}-worker`
          })

          worker.postMessage({
            file,
            startIndex: tilingStart,
            endIndex: tilingEnd,
            chunkSize: CHUNK_SIZE
          })

          worker.onmessage = (e) => {
            // e.data是返回当前worker处理后的结果数组
            for (let i = tilingStart; i < tilingEnd; i++) {
              result[i] = e.data[i - tilingStart]
            }
            worker.terminate()
            finishThreadCount++
            if (finishThreadCount === threadsNum) {
              resolve(result)
              console.log('---总数据', result);
            }
          }
        }
      })
    }
  </script>
</body>
</html>
# 模块依赖
/**
 * 依赖函数代码
 * 用于创建一个分片
 */
export function createChunk(file, index, chunkSize) {
  const hash = `${Math.random().toString(36).substr(2, 9)}`.replace(
    /((?=^\d+)\d+)|((?=\.)\.)/gi,
    ''
  )
  const start = index * chunkSize
  const endSize = start + chunkSize
  const end = endSize >= file.size ? file.size : endSize
  return new Promise((resolve) => {
    const reader = new FileReader()
    reader.readAsArrayBuffer(file.slice(start, end))
    const chunk = file.slice(start, end)
    reader.onload = (e) => {
      resolve({ start, end, index, chunk, hash, buffer: e.target.result })
    }
  })
}
# 工作线程
/**
 * worker线程代码
 */
import { createChunk } from './helps.js'
self.onmessage = async function (e) {
  const { file, startIndex, endIndex, chunkSize } = e.data
  const tasks = []
  for (let i = startIndex; i < endIndex; i++) {
    tasks.push(createChunk(file, i, chunkSize))
  }
  const chunks = await Promise.all(tasks)
  self.postMessage(chunks)
}
# 集成化方案Comlink
其实在开发中遇到一些问题:
如果在独立工作线程中声明多个 onmessage 函数,根据变量提升规则,只会有最后一个生效。那么想要执行不同的操作,除了新开一个工作线程外(失去意义),就只能在这个监听函数中通过 switch 或 if 进行返回,这样违反了单一职责原则
主线程也有同样的问题, 由于 Message 事件只能绑定一次,想要执行复杂的条件判断会让代码异常臃肿
// 若要在线程脚本中执行多个操作,通常需要这么写
onmessage = function (e) {
  if (condition1) {
    /* do something */
  }
  if (condition2) {
    /* do something */
  }
  if (condition3) {
    /* do something */
  }
}
为了解决上面遇到的问题, Google Chrome Labs 开源了一个Comlink (opens new window)项目,提供了前端多线程编程的 PRC 能力
RPC
Remote Procedure Call (opens new window),远程过程调用,指调用不同于当前上下文环境的方法,通常可以是不同的线程、域、网络主机,通过提供的接口进行调用
# 通过模块使用
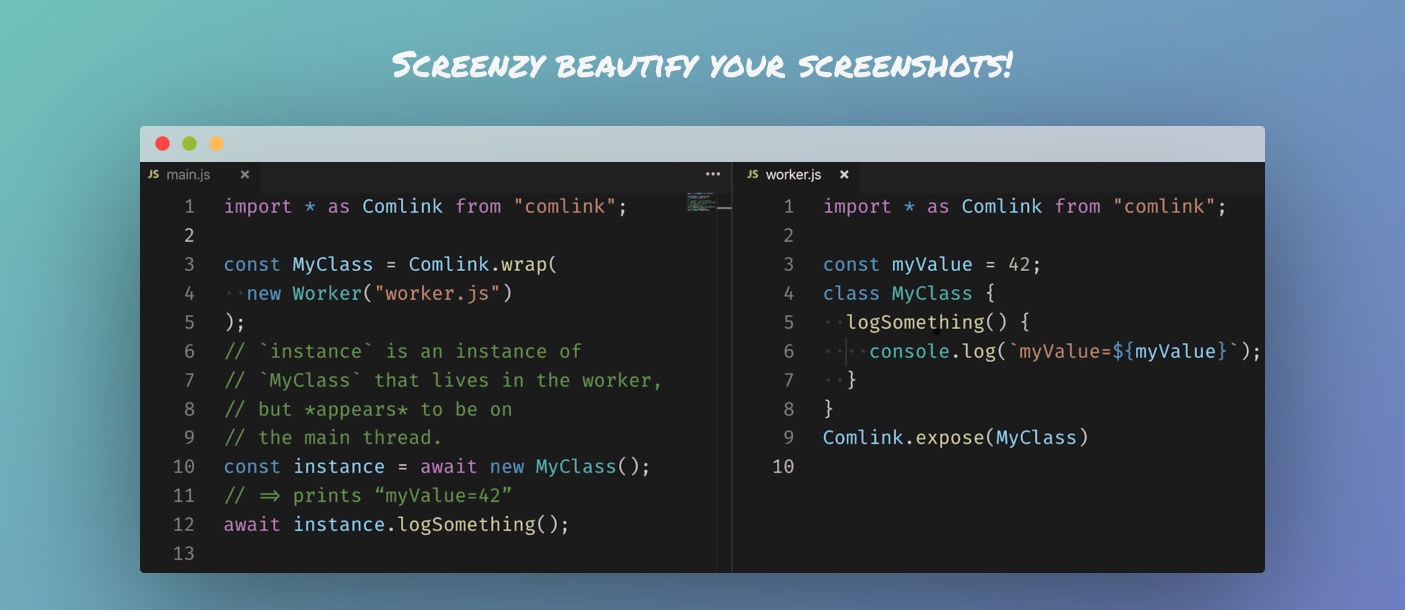
先安装comlink依赖, 再如图使用:
npm install --save comlink
# 直接通过浏览器使用
index.html
<script src="https://unpkg.com/comlink/dist/umd/comlink.js"></script>
main.js
async function init() {
  const worker = new Worker('worker.js')
  const obj = Comlink.wrap(worker)
  alert(`Counter: ${await obj.counter}`)
  await obj.inc()
  alert(`Counter: ${await obj.counter}`)
}
init()
worker.js
importScripts('https://unpkg.com/comlink/dist/umd/comlink.js')
const obj = {
  counter: 0,
  inc() {
    this.counter++
  }
}
Comlink.expose(obj)
# 在 Node 中使用
main.mjs
import { Worker } from 'worker_threads'
// 适配器链接均在git仓库
import * as Comlink from '../../../dist/esm/comlink.mjs'
import nodeEndpoint from '../../../dist/esm/node-adapter.mjs'

async function init() {
  const worker = new Worker('./worker.mjs')

  const api = Comlink.wrap(nodeEndpoint(worker))
  console.log(await api.doMath())
}
init()
worker.mjs
import { parentPort } from 'worker_threads'
// 适配器链接均在git仓库
import * as Comlink from '../../../dist/esm/comlink.mjs'
import nodeEndpoint from '../../../dist/esm/node-adapter.mjs'

const api = {
  doMath() {
    return 4
  }
}
Comlink.expose(api, nodeEndpoint(parentPort))